

Comenzando
Instalación
Sección titulada «Instalación»- Crea un nuevo proyecto SpringBoot usando https://start.spring.io y selecciona Web, JPA y un lenguaje de programación para tu app Spring Boot. DynamiaTools es compatible con Java, Groovy y Kotlin
- Descárgalo e impórtalo en tu IDE
- Agrega la dependencia starter de DynamiaTools.
Maven
<dependencies> <dependency> <groupId>tools.dynamia</groupId> <artifactId>dynamia-tools-starter</artifactId> <version>LAST_VERSION</version> </dependency></dependencies>Gradle
compile 'tools.dynamia:dynamia-tools-starter:LAST_VERSION'Ve a Maven Central para verificar la última versión.
Este starter habilita DynamiaTools en tu aplicación y agrega soporte para ZK, JPA y vistas y rutas personalizadas.
- Ejecuta y listo
package demo;
import org.springframework.boot.SpringApplication;import org.springframework.boot.autoconfigure.SpringBootApplication;
@SpringBootApplicationclass MyApplication {
    public static void main(String[] args) {        SpringApplication.run(MyApplication.class, args);    }
}
Después de ejecutar la aplicación, abre tu navegador y ve a http://localhost:8080. Deberías ver una página en blanco con una plantilla HTML completamente funcional llamada Dynamical. Más adelante personalizaremos esta página
Primer proyecto
Sección titulada «Primer proyecto»Vamos a crear algo útil, como un CRUD de contactos para almacenar nuestra lista de contactos. Para crear un CRUD en Dynamia Tools, sigue estos 3 pasos:
- Crea una entidad JPA
- Crea un módulo Dynamia
- Define un descriptor de vista para las vistas form y table
1. Crear una entidad JPA
Sección titulada «1. Crear una entidad JPA»Vamos a crear una nueva clase llamada Contact y anotarla con @Entity para crear una entidad JPA. Agrega los campos nombre, email y
teléfono.
package demo;
import jakarta.persistence.Entity;import jakarta.persistence.Table;import jakarta.persistence.Id;import jakarta.validation.constraints.NotNull;
import jakarta.persistence.*;import jakarta.validation.constraints.Email;import jakarta.validation.constraints.NotEmpty;
@Entity@Table(name="contacts")public class Contact {
    @Id    @GeneratedValue(strategy = GenerationType.AUTO)    private Long id;
    @NotEmpty    private String name;    @Email    private String email;
    private String phone;
    public Long getId() {        return id;    }
    public void setId(Long id) {        this.id = id;    }
    public String getName() {        return name;    }
    public void setName(String name) {        this.name = name;    }
    public String getEmail() {        return email;    }
    public void setEmail(String email) {        this.email = email;    }
    public String getPhone() {        return phone;    }
    public void setPhone(String phone) {        this.phone = phone;    }
    @Override    public String toString() {        return name;    }}
Esta es una clase POJO simple anotada con las anotaciones estándar de JPA. Ten en cuenta que también puedes usar anotaciones de validación
2. Módulos en DynamiaTools
Sección titulada «2. Módulos en DynamiaTools»Los módulos DynamiaTools son componentes estándar de Spring que implementan la interfaz tools.dynamia.navigation.ModuleProvider
y devuelven un nuevo objeto tools.dynamia.navigation.Module. Piensa en los módulos Dynamia como enrutadores que definen la navegación para las páginas.
package demo;
import org.springframework.stereotype.Component;import tools.dynamia.crud.CrudPage;import tools.dynamia.navigation.Module;import tools.dynamia.navigation.ModuleProvider;
@Componentpublic class ContactModuleProvider implements ModuleProvider {
    @Override    public Module getModule() {
        Module myModule = new Module("my-module", "My Module");        myModule.addPage(new CrudPage("contacts", "Contacts", Contact.class));
        return myModule;    }}
Un Module incluye un ID, nombre, páginas y grupos de páginas. Por otro lado, las Pages incluyen ID, nombre y ruta, que
en este caso está representada por una clase de entidad. Los IDs son cruciales porque definen la ruta para tus páginas. Por ejemplo,
la página CRUD de Contact tiene la ruta /pages/my-module/contacts.
3. View Descriptors
Sección titulada «3. View Descriptors»Los descriptores de vista definen cómo se renderizarán las vistas para las entidades en tiempo de ejecución. Por defecto, DynamiaTools renderiza vistas para formularios, tablas, árboles, configuraciones y otros. En las guías avanzadas aprenderás a personalizar los renderizadores de vista e implementar tus propios tipos de vistas.
Los descriptores son archivos YML con campos y parámetros para clases de entidad. Creamos una carpeta para ellos en /resources/META-INF/descriptors y creamos el archivo ContactForm.yml. El nombre del archivo no es especial, pero por una buena práctica, nómbralo usando el nombre de la entidad y el tipo de vista.
view: form # requiredbeanClass: demo.Contact # use fully qualified class name
fields:  name:    params: # customize component and layout      span: 3  email:    params:      type: email # setup type attribute of ZK textbox component  phone:    component: textbox #optional because string field are renderer link Textbox

#optionallayout:  columns: 3
Ahora crea un descriptor de vista para la vista de tabla ContactTable.yml
view: tablebeanClass: demo.Contact # use fully qualified class name
#all field are rendered like Labels because view type is tablefields:  name:  email:  phone:
4. Ejecuta y disfruta
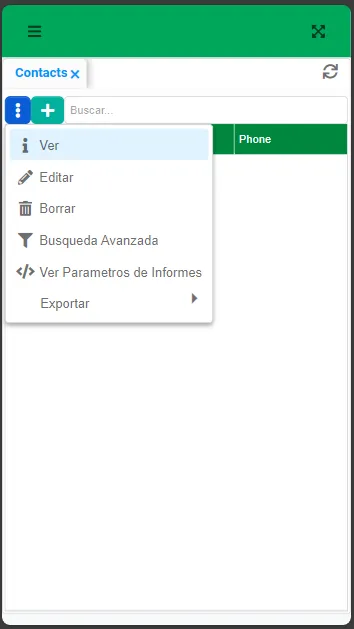
Sección titulada «4. Ejecuta y disfruta»Ahora tu aplicación tiene un nuevo menú llamado Mi Módulo y un submenú llamado Contactos. Este es un CRUD completamente funcional con crear, leer, actualizar, eliminar y muchas más acciones listas para usar.
Vista de tabla
Sección titulada «Vista de tabla»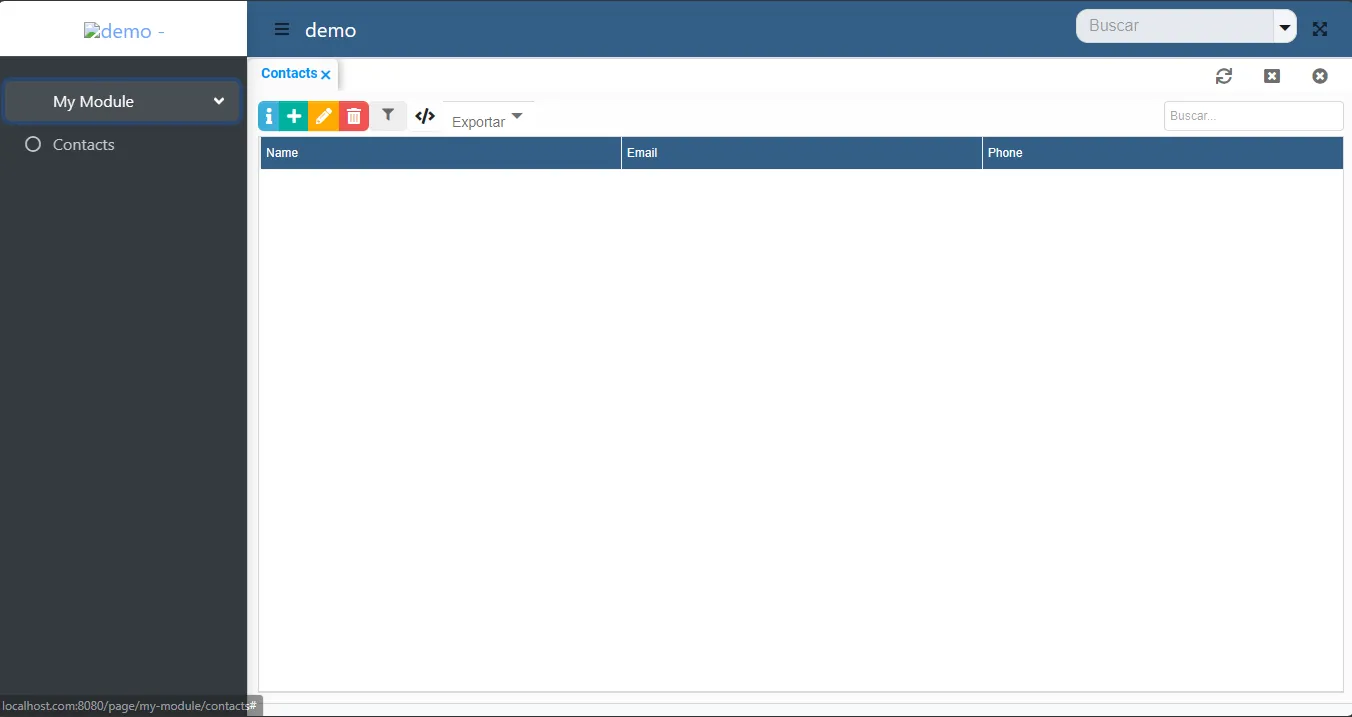
Vista de formulario
Sección titulada «Vista de formulario»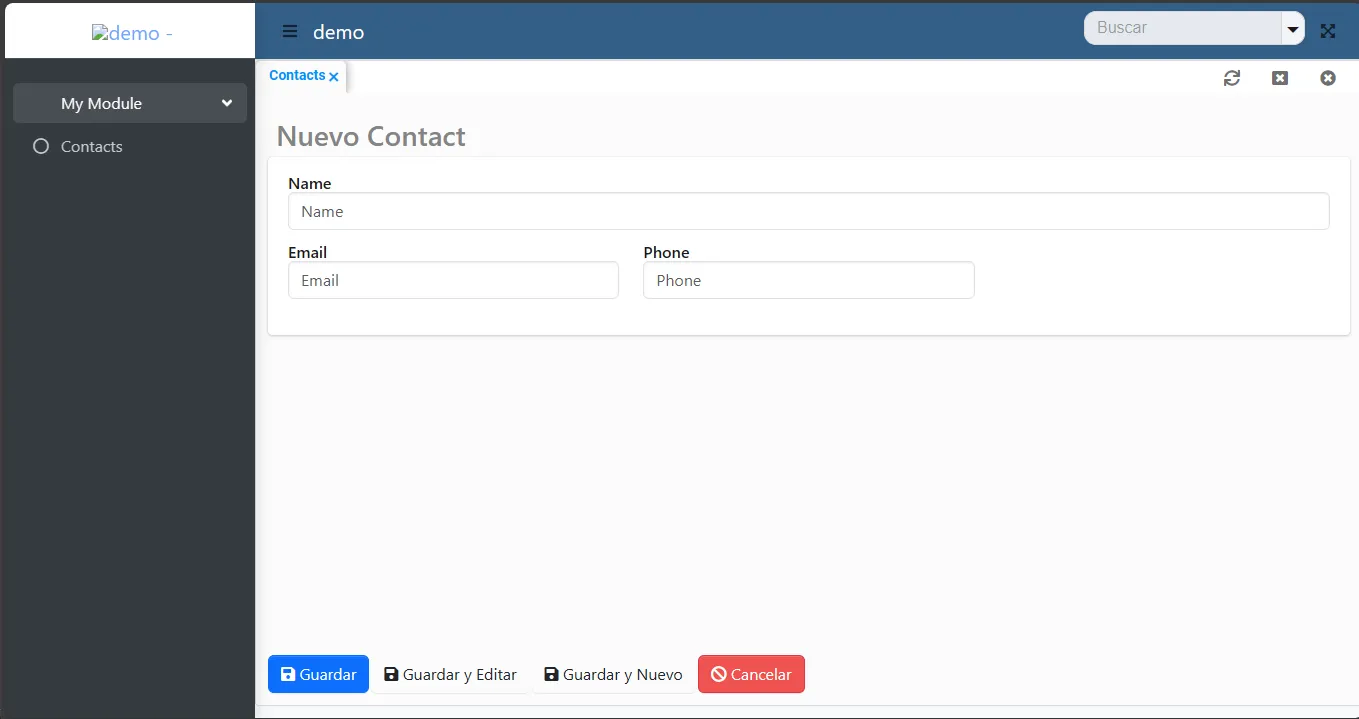
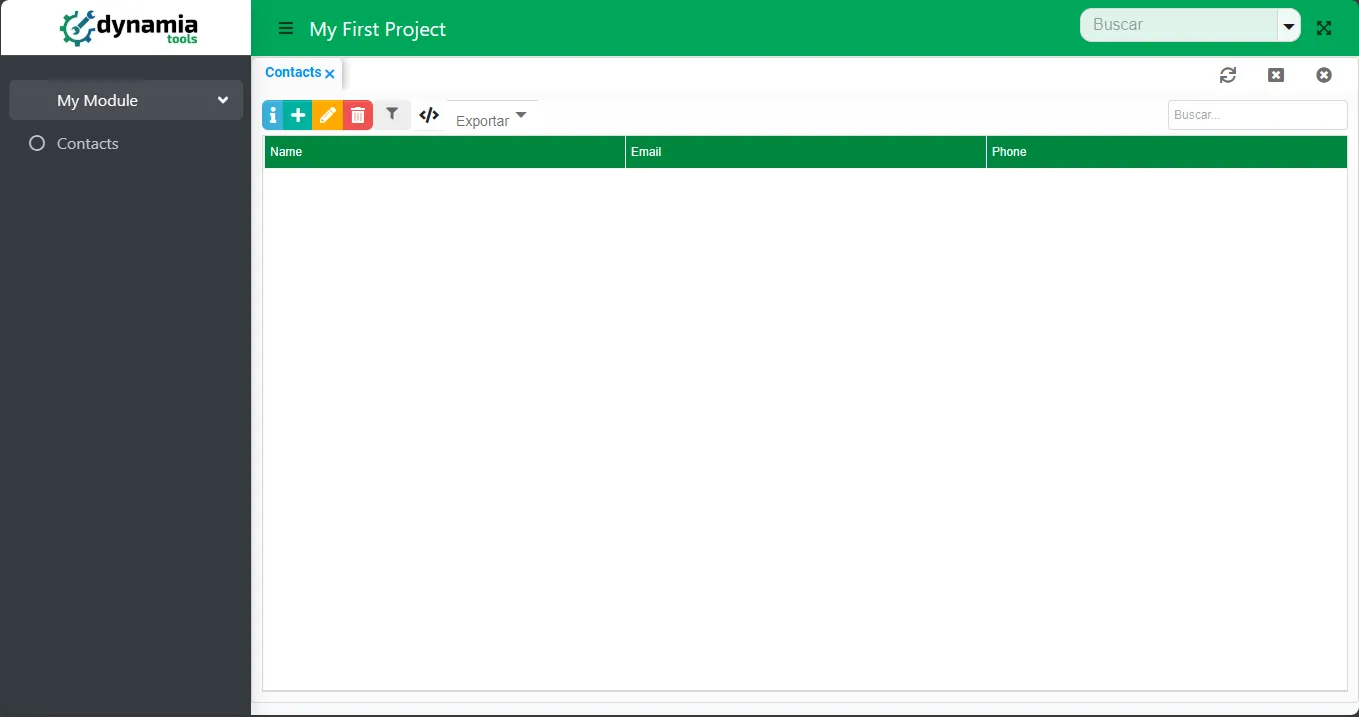
Personaliza tu primer proyecto
Sección titulada «Personaliza tu primer proyecto»Usa los archivos estándar de Spring Boot application.properties o application.yml para personalizar la configuración global de los proyectos de dynamia tools.
Usa el grupo de propiedades dynamia.app para dynamia tools.
dynamia:  app:    name: My First Project    short-name: MFP    default-skin: Green    default-logo: /static/logo.png    default-icon: /static/icon.png # used when navigation bar is collapsed    url: https://www.dynamia.tools
#other spring boot settings
Vuelve a ejecutar tu aplicación y esta vez será una aplicación hermosa
Responsivo
Dynamical es una plantilla gratuita de Bootstrap 5 totalmente responsiva, consulta https://github.com/dynamiatools/theme-dynamical para obtener documentación
REST automático
Sección titulada «REST automático»Acabas de construir un proyecto de pila completa con DynamiaTools en unos 10-15 minutos. Tu proyecto incluye algunas características especiales,
una de las cuales es un endpoint RESTful automático para todos los CrudPages. Crea algunos contactos en el front end, luego reemplaza la URL del navegador
con http://localhost:8080/api/my-module/contacts.
Deberías ver una respuesta JSON con tus contactos. En mi caso, recibí la siguiente respuesta:
//http://localhost.com:8080/api/my-module/contacts{ "data" : [ { "id" : 1, "name" : "Peter Parker", "email" : "spidy@gmail.com", "phone" : "5556565656" }, { "id" : 2, "name" : "Dr Doom", "email" : "doomed@gmail.com", "phone" : "555-6999-666" }, { "id" : 3, "name" : "Tony Iron Stark", "email" : "ceo@starksindustry.com", "phone" : "5551656565" } ], "pageable" : { "totalSize" : 3, "pageSize" : 50, "firstResult" : 0, "page" : 1, "pagesNumber" : 1 }, "response" : "OK"}Luego navega a http://localhost.com:8080/api/my-module/contacts/1 y obtén la información del contacto con ID = 1
{ "data": { "id": 1, "name": "Peter Parker", "email": "spidy@gmail.com", "phone": "5556565656" }, "response": "OK"}Verifica que el formulario json predeterminado de DynamiaTool tenga este formato:
{ "data": [], "response": "", "pageable": {}}Felicitaciones
Sección titulada «Felicitaciones»Con esta guía de Comenzando, acabas de construir una aplicación web con soporte CRUD automático, endpoints RESTful automáticos, y una plantilla responsiva. Continúa con las siguientes guías para aprender sobre temas avanzados con DynamiaTools.